Mounting Brackets
INSTALLATION GUIDE FOR DEFLECTORS WITH METAL MOUNTING CLIPS
(Note: Installation for several Mercedes-Benzs and Volkswagens might be different, please visit our youtube channel for visual installation guide)
These installations show the left door (driver side) deflectors being installed. The same procedure applies to installing the right door (passenger side) deflectors.
Be careful not to damage the paint finish and glass run channels/weatherstrips when installing the deflectors
Adhesive strength is determined by the adhesive viscosity and resin softness. The lower the atmospheric temperature, the lower the adhesive viscosity and weaker the adhesive strength. For this reason, installation is best when the ambient air temperature is 75F or above.
Important: If dirt, dust, or oil are present on the surface of the window frame for installation, the adhesive strength of the 3M tape will be diminished. For best result, thoroughly clean the surface of the window/door frame where deflector will be attached using cleaning pad and rag. Do not touch the 3M tape surface with hands. This will cause oil from the skin to be transferred to the 3M tape, diminishing the adhesive strength of the tape.
To allow the adhesive to cure, do not wash the vehicle for 24 hours after installation.
Installing the front door visor
1. Fully open the front window, open the provided alcohol wipe pad to clean the surface for dust and grease.

2. Hold the deflector up the window frame to ensure proper fitment and to get an idea on where to insert the mounting clips. (Tips: use masking tape to mark the locations of the holes on the door frame)
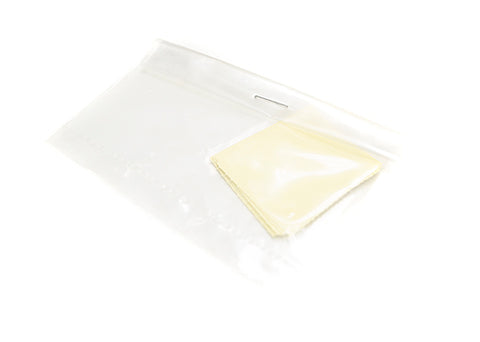
Optional step: Peel off and stick the included transparent protective film between the bracket and door frame.
3. Insert the metal mounting clips between the door sash and the rubber glass channel run. A few examples
 |
 |
 |
 |
 |
 |
 |
 |
After insertion of the clips, raise and lower the window several times to seat the door glass run channel.
4. Peel back 1 1/2 to 2 inches of each adhesive backing, and tape the ends to the front surface of the left front door deflector.
5. For front visor that comes with front bracket: Depends on the style of the visors, insert front bracket on the left front door visor into the door mirror base (between sash and glass channel run, not window channel).
Skip this step and proceed to step #6 if visor was not equipped with front bracket.
or
6. Place the deflector against the door, and adjust the visor/mounting clips so the holes are lined up.
7. While applying light pressure against the front door deflector, carefully remove the adhesive backings.
8. Use locking pins to secure deflector.

9. Using the palm of your hand, firmly press the front door deflector against the door sash.
10. Raise and lower the window several times to see if window can be closed properly.
11. Check visor from above and below to make sure 3M tape is fully contacted with door sash (no light leak). If visor is not fully contacted with door frame, apply pressure on the edge of the visor to ensure 3M tape is fully contact with door frame
12. Use the same mechanism to install the rear visor.
USE AND CARE
Clean the deflectors with mild detergent and water.
Do not use organic solvents (thinner, benzine, alcohol, etc.) or cleaners containing any abrasive material.
Side window deflectors may not be legal in all states. Please check the laws of your state.
Although side window deflectors improve ventilation, customers should not leave children or pet inside while parked under extreme heat.
